MY INSPIRATION!!!

MY INSPIRATION!!!
Showing posts with label Tutorial Thursday. Show all posts

Sunday, December 13, 2020

La-La Land Crafts 14 Days of Christmas - Day 10


Hello everyone! Welcome to DAY 10 of the annual La-La Land Crafts 14 Days of Christmas!


Kerri here with you today to share a tutorial with you!

Today's tutorial is:  Hot Chocolate Test Tube Holder!

 Yep you read right a Hot Chocolate Test Tube Holder.  These are great to give to a Teacher, Friend or Co Worker they are like a hug in a mug. You can put make them with White, Milk or Dark Hot Chocolate one year I even filled them with French Vanilla!! 


PRODUCTS

PRISMA PENCILS
Piggies- 937, 1031, 1092, 1068, 1070, 938
Browns- 947, 1082, 1094, 1084
Blues- 901, 133, 1103, 1087, 935
Blacks- 935, 1067, 1065, 1063, 1061

 PAPER CUTS & SCORING

Brown Cardstock:
(1) 4 x 11 
Score on 4" side 2 3/4 & 1 1/4
Score on 11" side 1/2, 1 3/4, 4 1/4, 5 1/2
Scraps for dies

Blue cardstock:
(1) 1 6/16”  x 2 7/16 
(2) 1 2/16” x 2 6/16
Scraps for dies

Home For Christmas Paper Pack:
(1) 1 1/4” x 2 1/4”
(1) 1” x 2 1/4” 
Scraps for dies


You will need your 4 x 11 sheet of paper. If you have 12 x 12 cardstock you would be able to make 3 from one sheet. 


Using score board score score at given measurements as given above in cutting and scoring directions. Here is also a template for you to follow. 


Take your scissors and cut where the red lines are on template


Measure down 2 2/4 on each side and trim a out piece as seen in photo below


The Brown piece is what your holder should look like once you have scored and trim away excess pieces.

 Using the smallest circle from the Stitched Nested Circles Die cut out circle as per template


 Apply Scor Tape as per picture 


Fold along all of your scored lines, peel Scor Tape and form box. What I do is I form the box before I peel my tape to see how it goes together. Your Test Tube Holder will look like the picture below.

The holder is formed and now to make it PRETTY!!!


 Cutting front and side panels cut as per picture


Front Panel- 1 1/4” x 2 1/4”(pattern paper)
          1 6/16”  x 2 7/16   (cardstock)       

Side Panel- 1” wide x 2 1/4” long (pattern paper)
                      1 2/16” wide x 2 6/16 long (card stock)

Once you have them cut glue them together with adhesive and apply them to your holder!

Step 9- Cut out all of your die cuts using dies and die cut machine. 


Step 10- Glue all of your decorations together and make take!
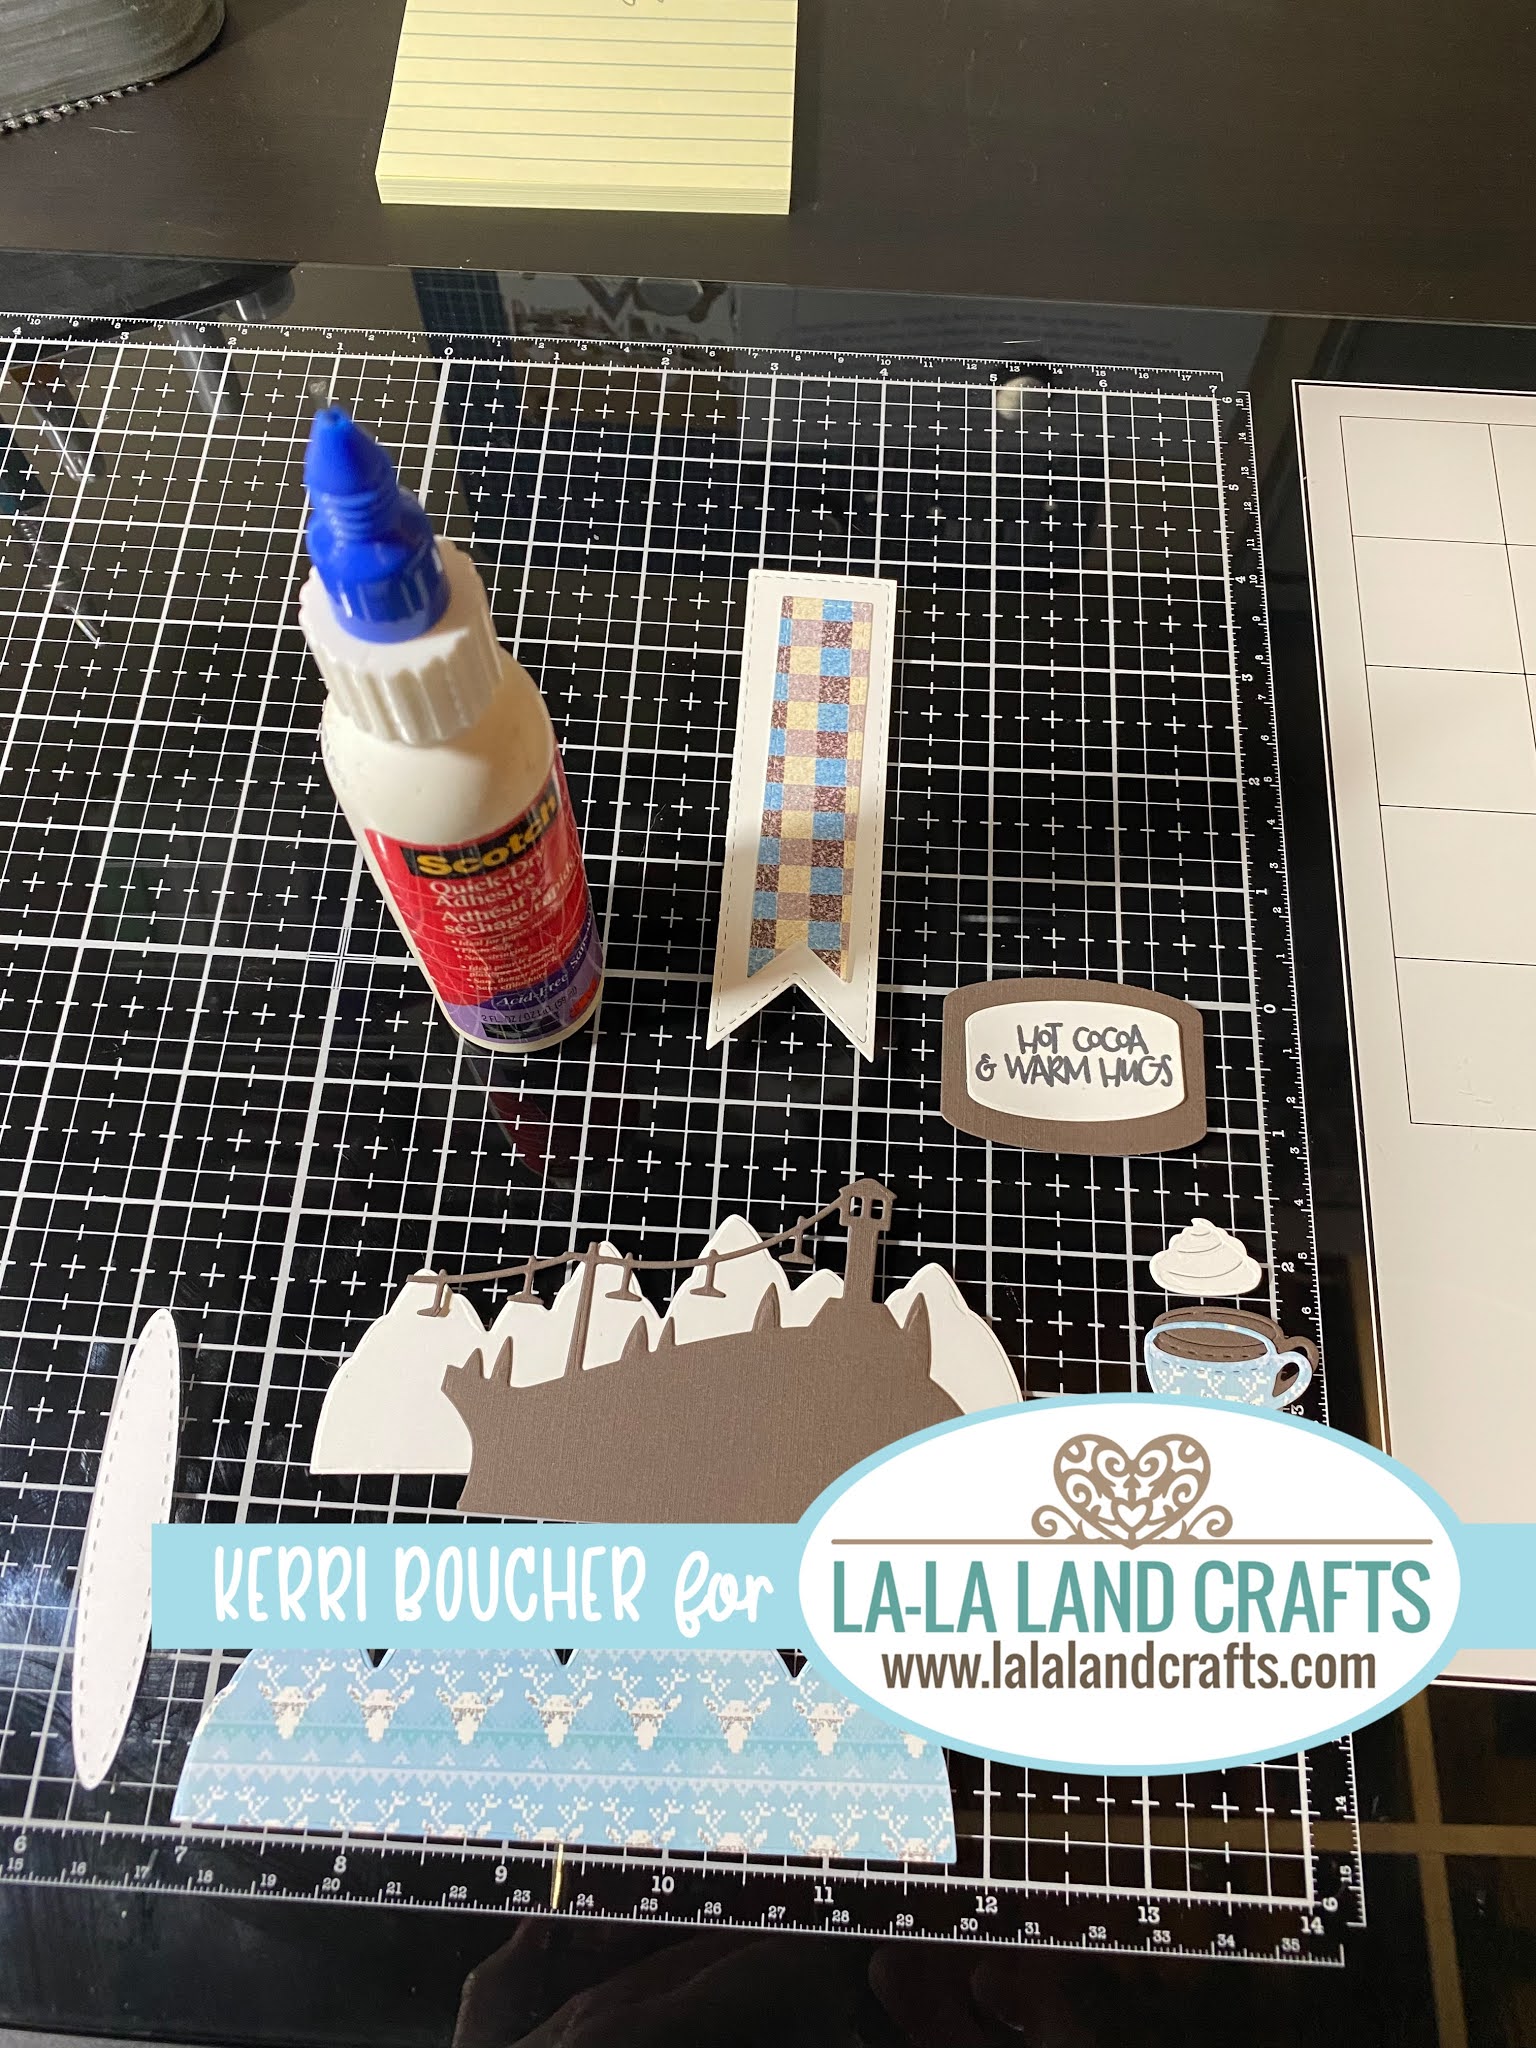


This is a rough layout out just to kind of show you placement.


Step 11- Time to add your completed embellishments to the holder as per picture.  Once that is done fill your test tube with your favorite Hot Chocolate.  I put roughly 3 Tbsp of Hot Chocolate, 1/2 a Tbsp of crushed Candy Cane and some small Marshmallows.  I also added some snow to certain areas of my holder.  


Thank you for joining me have a Happy and Safe Holiday Season! 


 We hope that you are inspired to try out your own creation with the amazing stamps and dies from La-La Land Crafts! 

Make sure to join our LLLC FAN GROUP on Facebook for more ideas, 
inspiration and a general chit chat about our products!

Hoping you all have a great week of creating!!!!

Kerri

Click on the buttons below to find us on these social media sites:


Thursday, November 12, 2020

Tutorial Thursday!! Coloring with Prisma Pencils


Tutorial Thursday- Coloring with Prisma Pencils


Hey there this is DT Kerri and today I am sharing with you how I color with my Prisma Pencils.  Now I do not have an Art Degree or anything like that I do this as a hobby.  A couple of pointers to start is always use LIGHT PRESSURE..it is easier to add color then it is to remove color.  If you struggle with pressure hold your pencil further back.  Try to keep a sharp pencil and color in a small circular motion.  I am going to provide you with a PRODUCT, COLOR LIST as well as step by step instructions.  Hope you enjoy remember don’t give up Pencils take practice.


So here is the card finished now we are not going to make the whole card we are just going to color the Santa.  Now if you want to color the Lights I did use the same Reds, Greens and Blues. First I am going to list the Products and the Pencils I used

PRODUCTS

PRISMA PENCILS
Skin- 946, 1082, 943, 939, 927, 937, 924
Suit- 937, 924, 923, 928, 1014 (or white 938)
Beard- 1056, 1054, 1052, 1051, 938
Toy Bag- 947, 1082, 941, 1084
Blue Gift- 105, 905, 992, 1089
Green Gift- 908, 911, 1005, 1004
Boots- 935, 1056, 1054, 1052
Glamour Dust used on Hat, Pants and Coat

COLORING TUTORIAL 

Step 1
Gather all necessary supplies.  I stamped my Image with MEMENTO TUXEDO BLACK INK onto white 100lb ACCENT SMOOTH PAPER. I always stamp at least two Images incase I mess one up I highly recommend this. Now we are going to get into the coloring!! Make sure you have a sharpener handy and remember keep your PRESSURE LIGHT!

Step 2

So for Step 2 we are going to apply the colors as follows
Skin- 946
Suit- 937
Beard- 1056
Toy Bag- 947
Blue Gift- 105
Green Gift- 908
Boots- 935
Remember to keep your pressure light on a scale of one to ten, one is where you want to be.

Step 3


Step 3 we are applying the second color. Your PRESSURE here still has to be a one
Skin- 1082
Suit- 924
Beard- 1054
Toy Bag- 947
Blue Gift- 905
Green Gift- 911
Boots- 1056
Your second color is going to hit the edge of your first color and extend a bit towards the center.  It will also extend the line of your first color.

Step 4


Step 4 we are applying the third color. Keeping your pressure light and extended color further thus Image is starting to fill with color.
Skin- 943
Suit- 923
Beard- 1052
Toy Bag- 941
Blue Gift- 992
Green Gift- 911
Boots- 1054

Step 5


Step 5 is our fourth color keeping PRESSURE LIGHT and pencil sharp coloring in small circular motion 
Skin- 939
Suit- 928
Beard- 1051
Toy Bag- 1084
Blue Gift- 1089
Green Gift- 1004
Boots- 1052

Step 6


Step 6 we adding the last of our colors to complete out first layer. If you do not see a part of the image listed in this step that means all of the colors have been used.
Skin- 927 this is the last color so all of skin should be done
Suit- 1014 last color
Beard- 938
Toy Bag- none done last step
Blue Gift- none done last step
Green Gift- none done last step
Boots- none done last step.

Now your image should be completely colored.  This is only the first layer of color.  The next Steps which would be 7 - 12 you are going to repeat steps 1 threw 6.  The second layer you are going to increase your pressure a bit.  I have pics to show you each of these steps

Step 7


Step 7 increase your pressure to a three out of ten using the same colors from step 2. Still color in small circular motions.  You may want to extend your first color as well use my pictures if you are unsure.  Having a reference is always good.
Skin- 946
Suit- 937
Beard- 1056
Toy Bag- 947
Blue Gift- 105
Green Gift- 908
Boots- 935

Step 8


Step 8 you are going back and using the colors from Step 3..try to keep your pressure at about a 2 or 3 out of ten

Step 9


As you can see your image is getting close to done.  Here you are coloring with the colors from step 4.

Step 10


Step ten you are using colors from step 5.
Skin- 927
Suit- 1014
Beard- 938
Toy Bag, Gifts, Boots have no colors as they would have been done in the last step.  Now your image is completely colored.  If you want you can do a third layer if you like. Once again you will repeat steps 7 to 10.

Step 11


In this step you are going to cut your image out!!

Step 12


Now that you have cut your Santa out it is time to apply some GLITTER!!


You are now done your Santa he is ready to go onto your project.  Thank you for stooping by and good luck and have fun CRAFTING!!


Make sure to join our LLLC FAN GROUP on Facebook for more ideas, 
inspiration and a general chit chat about our products! 


Click on the buttons below to find us on these social media sites:


Thursday, August 27, 2020

Tutorial Thursday- Tree In Bloom Layering Stencil


Tutorial Thursday - Using Layering Stencil 


Hey there fellow crafters this is Kerri.  So you sit down to my a card and you are going threw your paper and you cannot find the right one for your card..Frustrating right well no more..Stencils are great for this so I am going to show you how I used TREE IN BLOOM Layering Stencil.

SUPPLIES
white card stock
distress oxide ink pads (tumbled glass, mermaid lagoon, antique linen, vintage photo, walnut stain, peeled paint and forest moss)
blending tool
coloring medium
cutter/scissors

PRODUCTS


Step 1. Gather your supplies


Step 2. Place the tree where you want it on your white card stock


Step 3. Once tree is in place gently lay the leaves stencil over top. This way you can line them up with the branches.


Step 4. Secure your leaf stencil either with magnets like I did or you can use washi tape.  Once secure remove the tree from underneath carefully.


Step 5. Using your lightest green here I have chosen Peeled Paint.  Take your blending brush apply ink and I apply in a gentle circular motion.


Step 6.  Taking you dark green color here I used Forest Moss.  Apply color to blending brush now place color on tips of leaves.  This will give them some dimension.


Here are the leaves done with both the of the Greens.


Step 7. Now you are going to add the tree.  Take the tree stencil and line it up with the leaves.  Once you are happy with the placement you can secure it down.


Step 8. Now to do the tree you are going to take your Antique Linen with your blending brush and fill in tree.  Next you will take Vintage Photo and apply where you want some shadows.  Last is Walnut Stain and use this sparingly in make your shadows pop.


Step 9. If you want some of the flowers on your tree take Tumbled Glass as your lightest color and your Mermaid Lagoon as your shadow color.  Follow the steps for doing the leaves.


Here is the tree all done!! I love the way it looks.  


Now did you think I would not have a card ready well..This clear stamp set YOU LUCKY DUCKY was perfect for this card!! Thanks for stopping by!!


Make sure to join our LLLC FAN GROUP on Facebook for more ideas, 
inspiration and a general chit chat about our products!


Click on the buttons below to find us on these social media sites: